Bridge Overview
The NEAR Protocol created the Rainbow Bridge—something that's both unique and valuable in the crypto space, a fully trustless bridge for transferring tokens between Ethereum, NEAR and Aurora. The Rainbow Bridge is the official bridge for transferring tokens between the Ethereum, NEAR and Aurora blockchains.
Before you start using the bridge, we recommend browsing through the bridge page and bridge options. This info is described pretty concisely and will definitely help you avoid common pitfalls and understand how the bridge works.
The official Rainbow Bridge page is https://rainbowbridge.app.
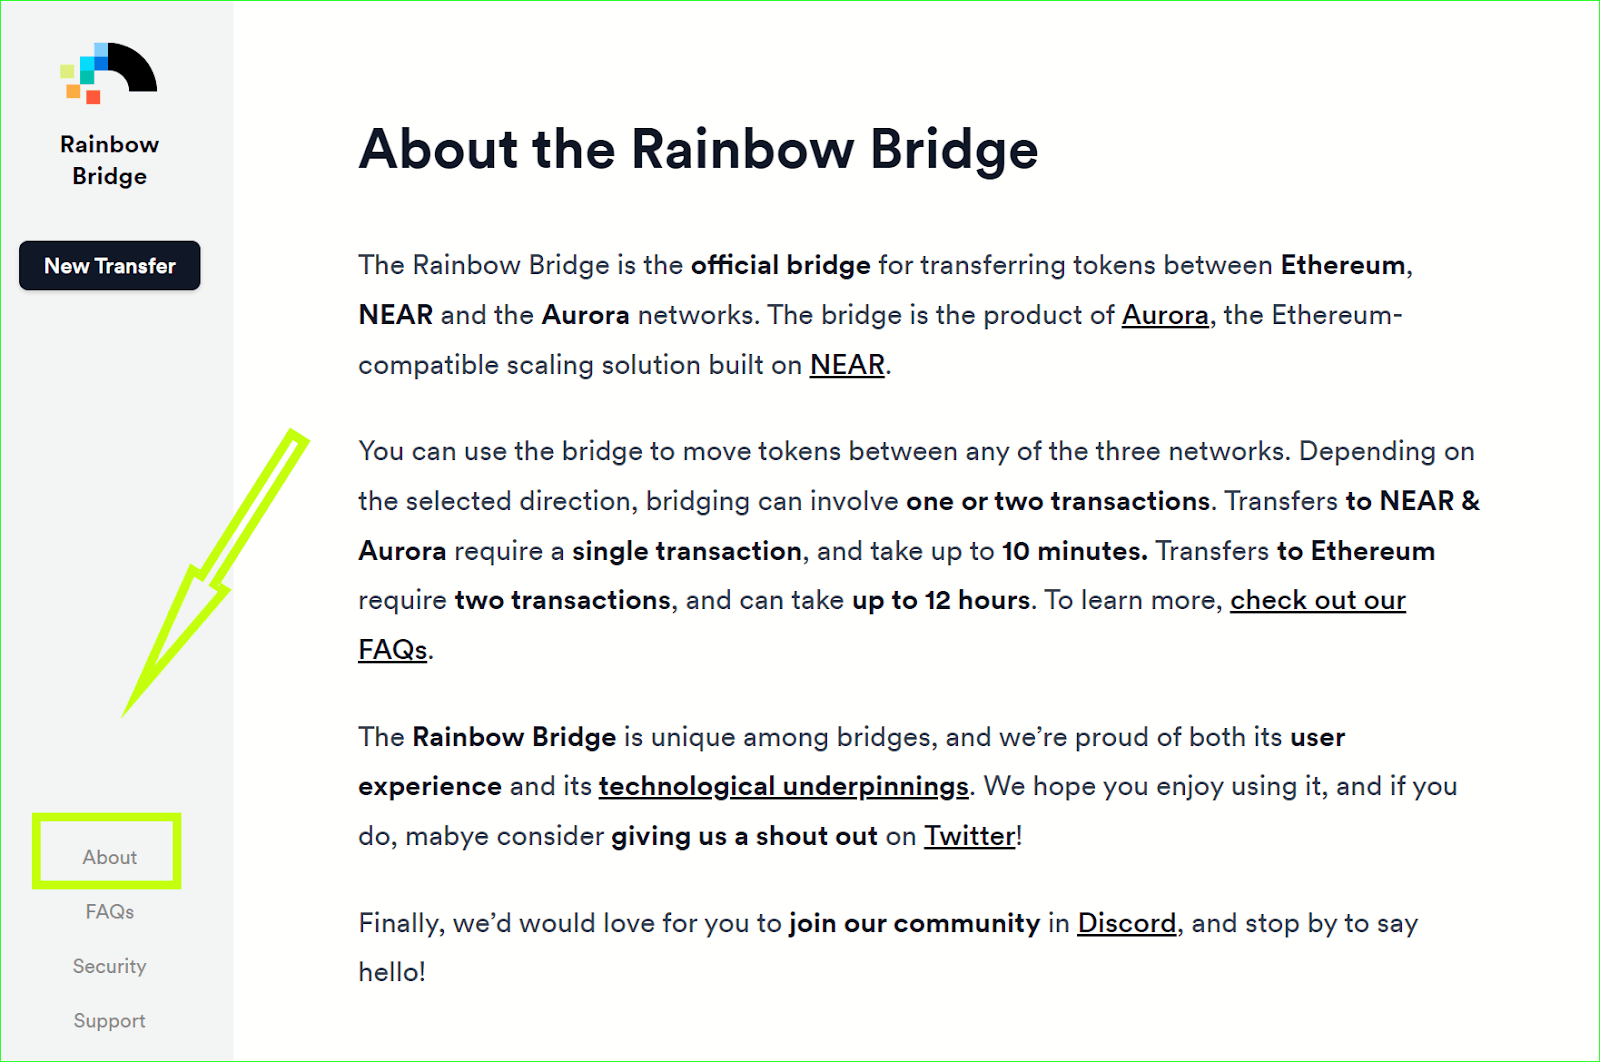
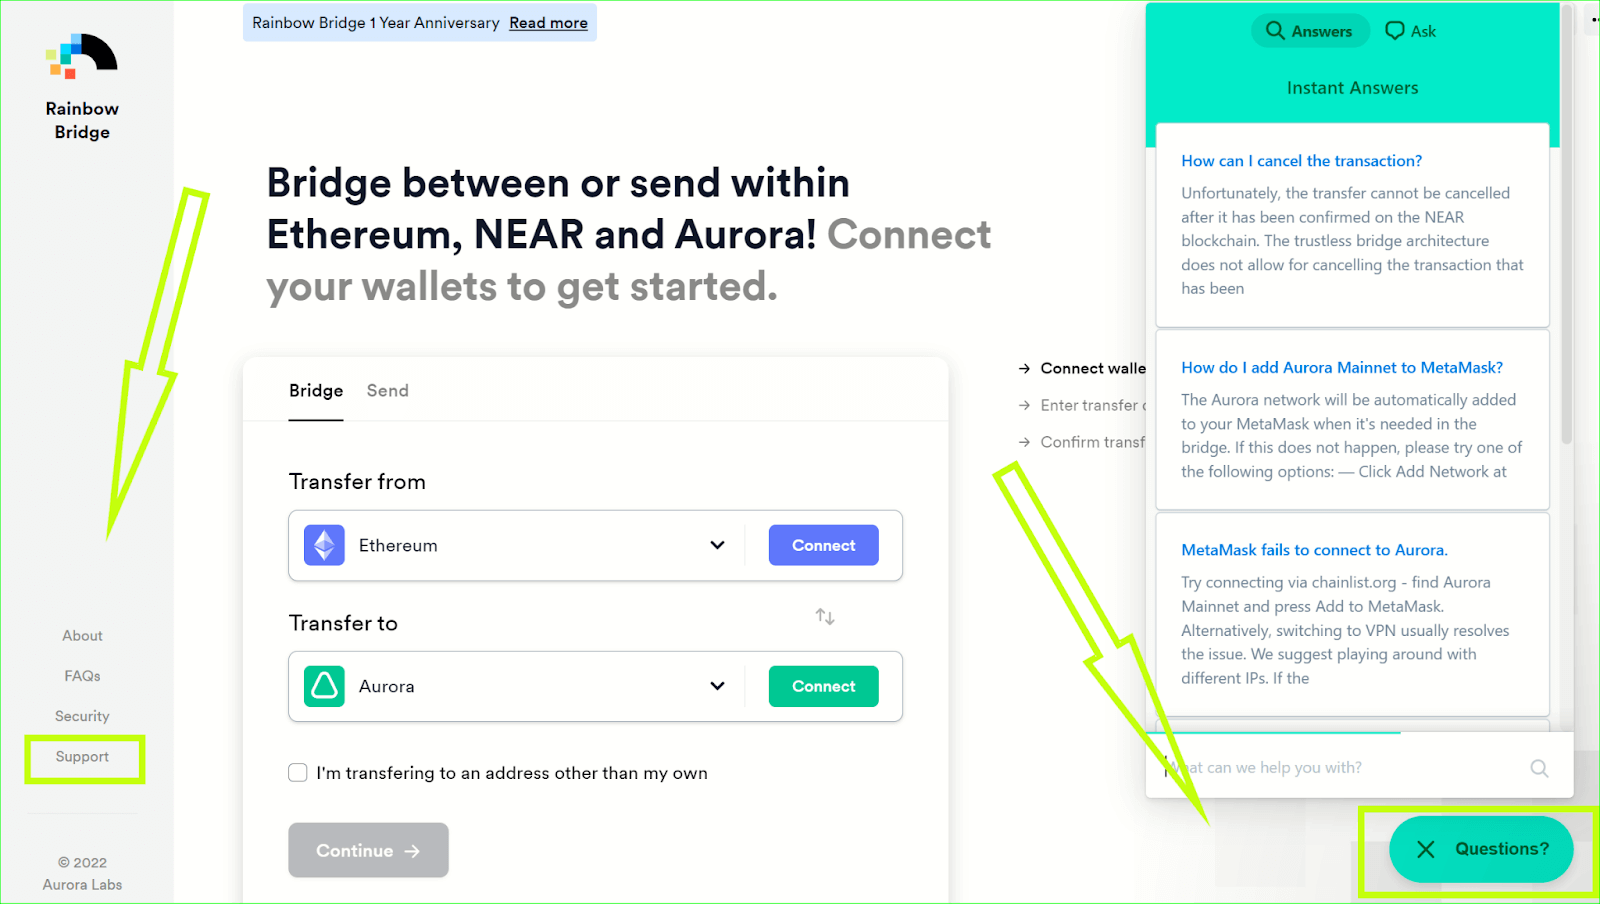
In the lower left corner you’ll find several menus.
The About menu gives you a short description of the bridge, the networks it can be used with and the explanation of why our bridge is unique. Yes, we can proudly say that it is unique, indeed! :)
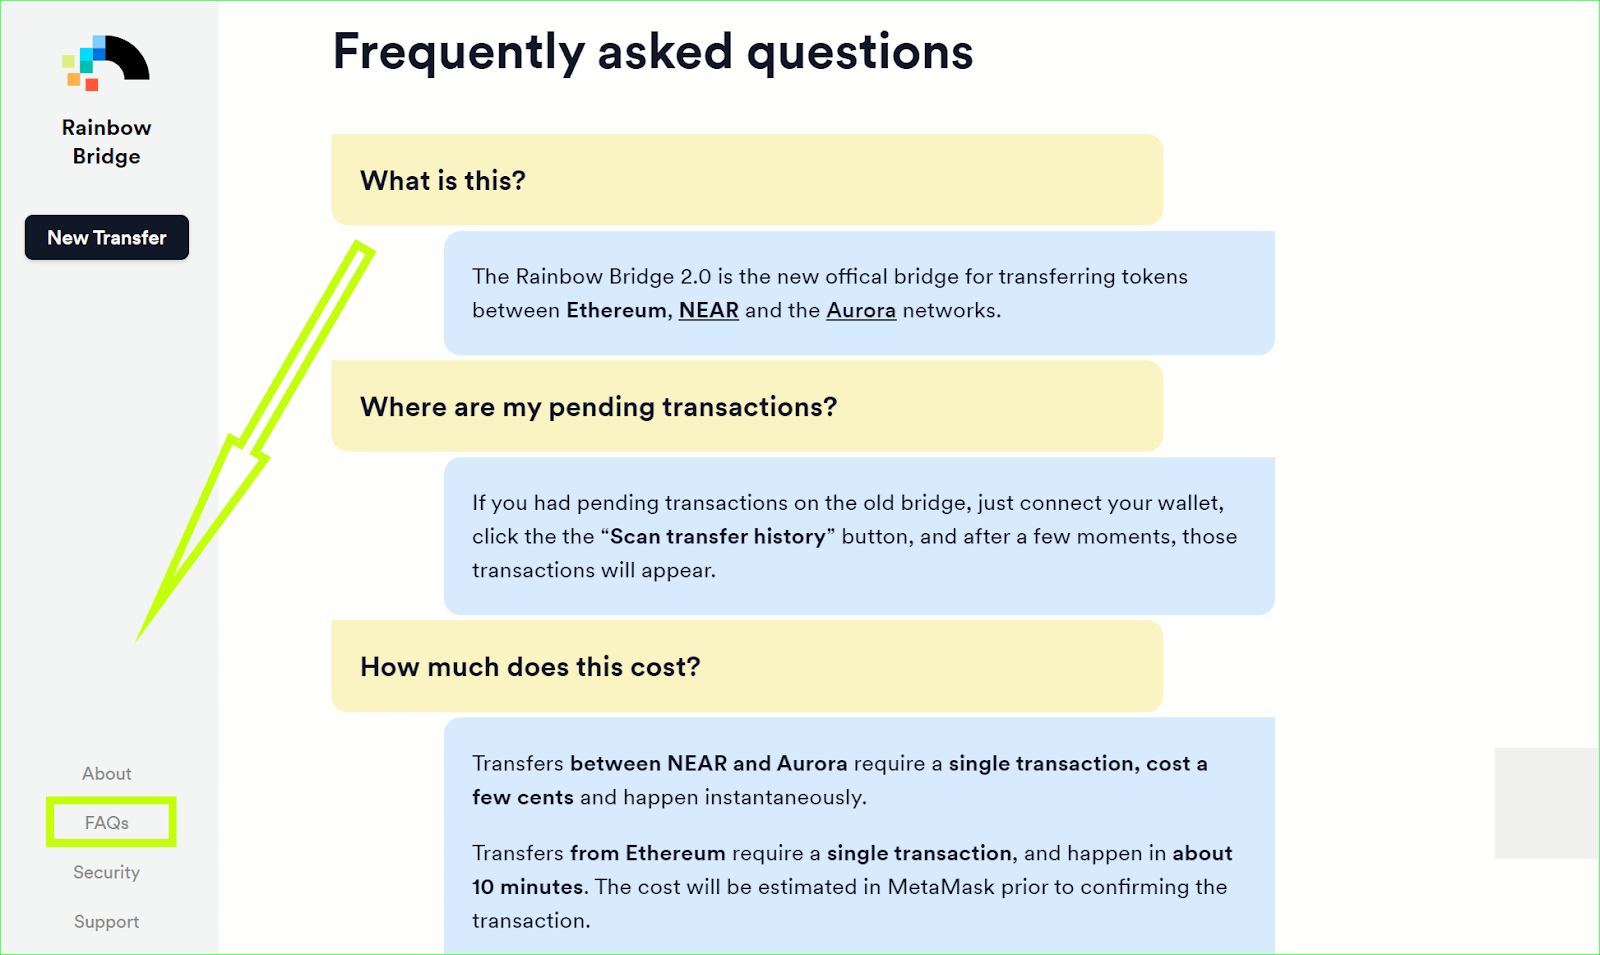
We absolutely suggest that you pay attention to the FAQ page. It’s very very short yet it answers most common questions that often confuse users.
If you experience issues at any time during the transfer, there is the Support link that opens a contact help form. The same form can be easily accessed through the green icon Questions in the lower right corner. Note that the button is yet another source of common questions. They pop up when you click the button. If you still need assistance, just click the Ask bubble at the top of the form.
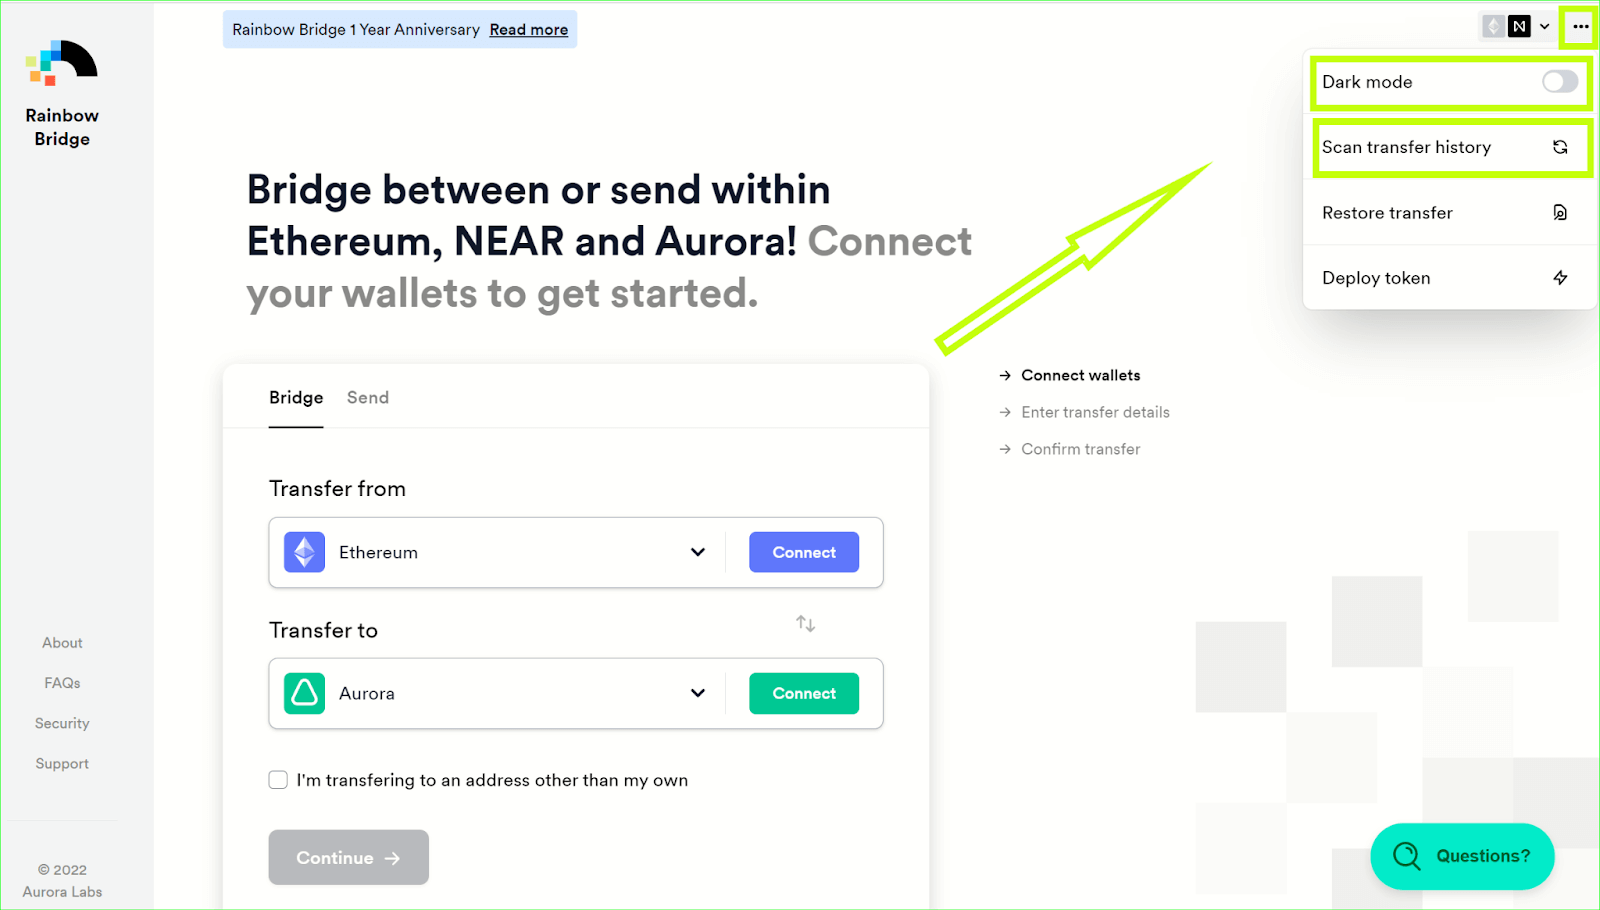
Now let’s move to the upper right corner.
First, there is the three dots button. The very first option would be Dark Mode in case you are a fan of the dark theme.
Another feature is Scan Transfer History. It is useful if you can’t find transactions that you believe you have made (perhaps you hid them unintentionally). Also, if you still happen to have transactions completed on bridge Version 1.0 (ethereum.bridgetonear.org and aurora.bridgetonear.org) but don’t see them in the list, this option will help you recover them.
Then there is the down arrow. Once clicked, the list of supported networks expands. This is a shortcut allowing you to connect necessary networks before you start a transfer.
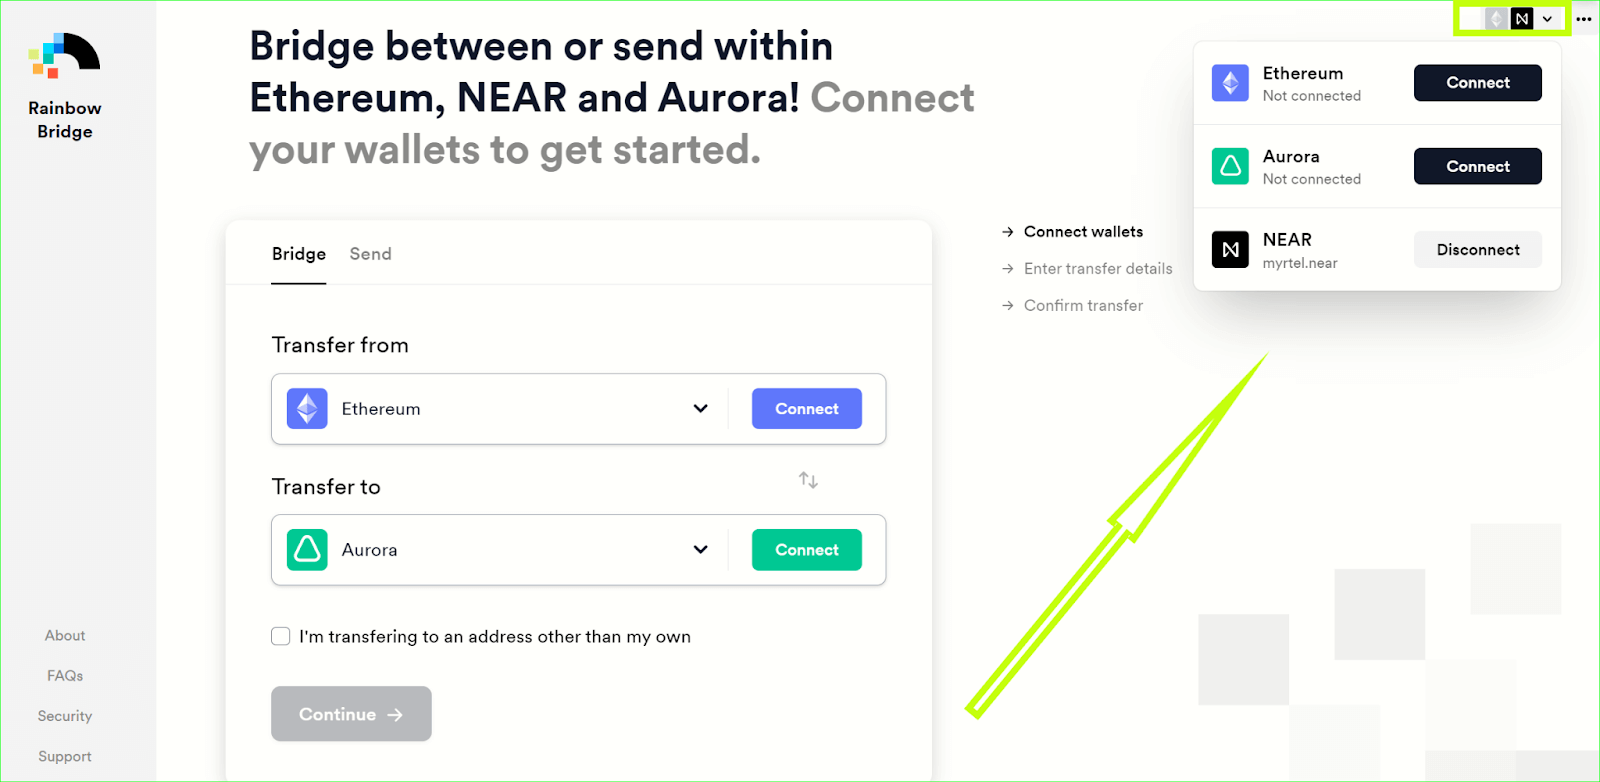
There are two other ways to connect networks
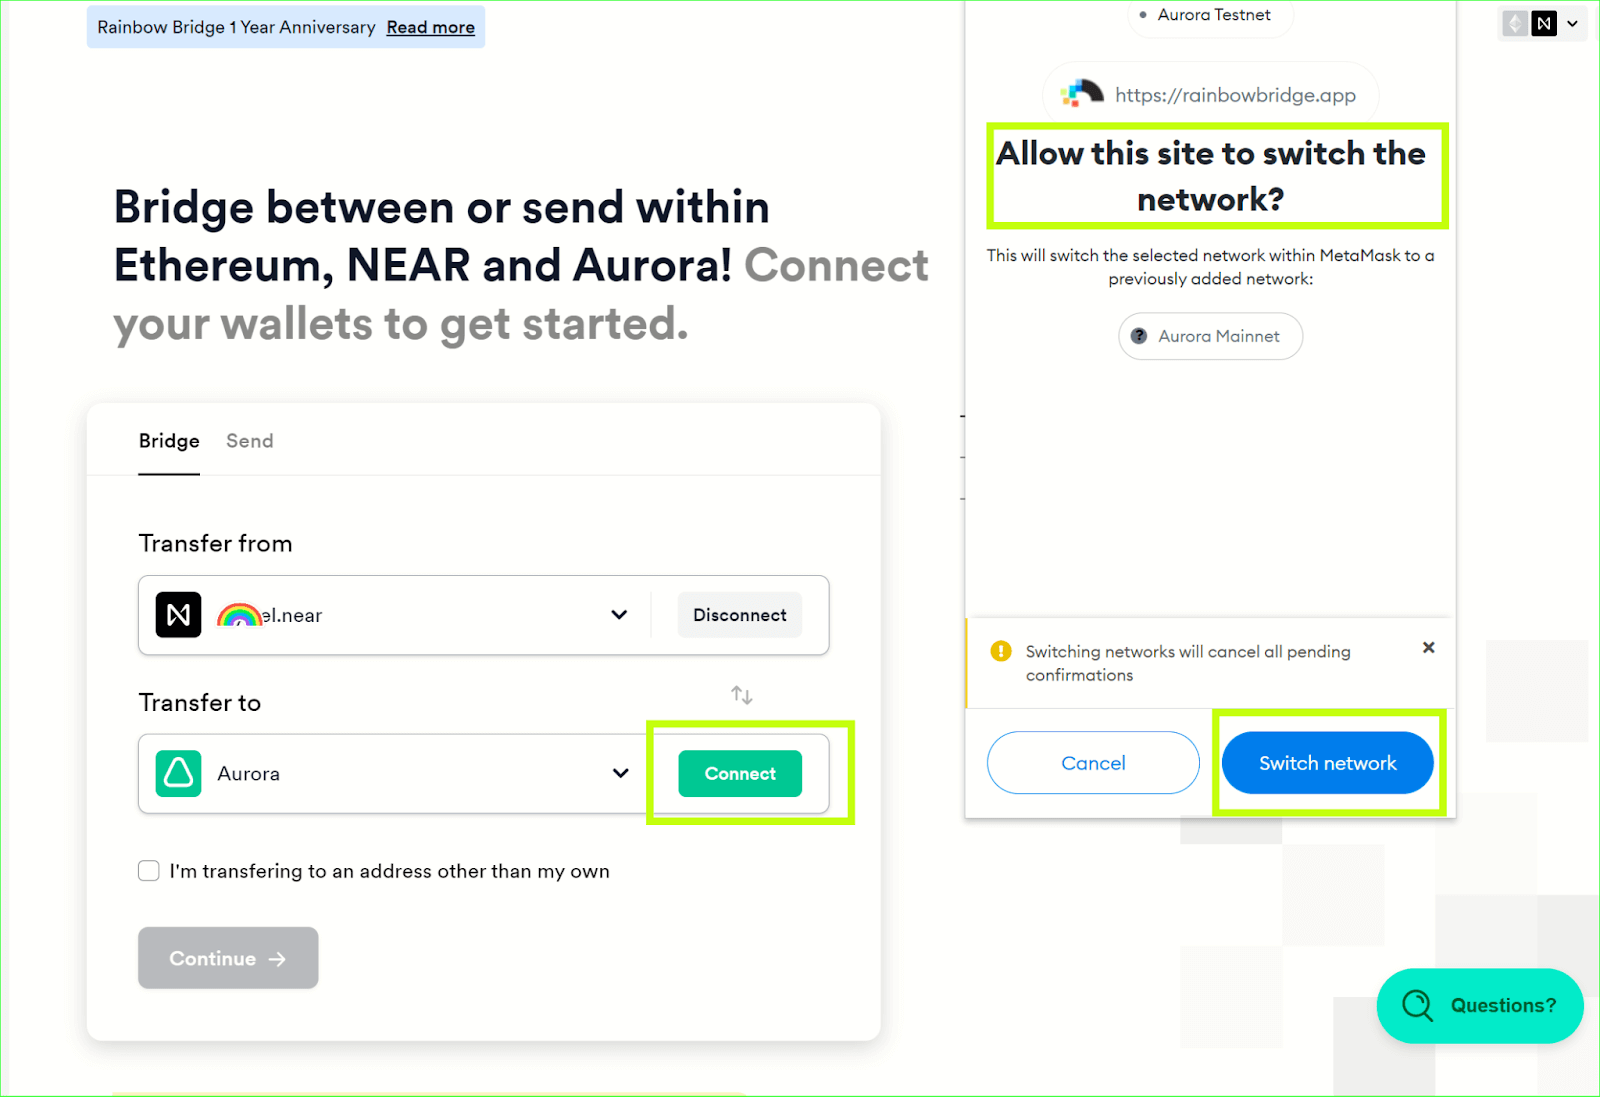
- If you don't have the Aurora/Ethereum as your default network in MetaMask, the bridge will initiate a prompt in MetaMask to pre-configure and confirm adding Aurora or switching to Aurora/Ethereum, and then you can switch to the respective network as the default network.
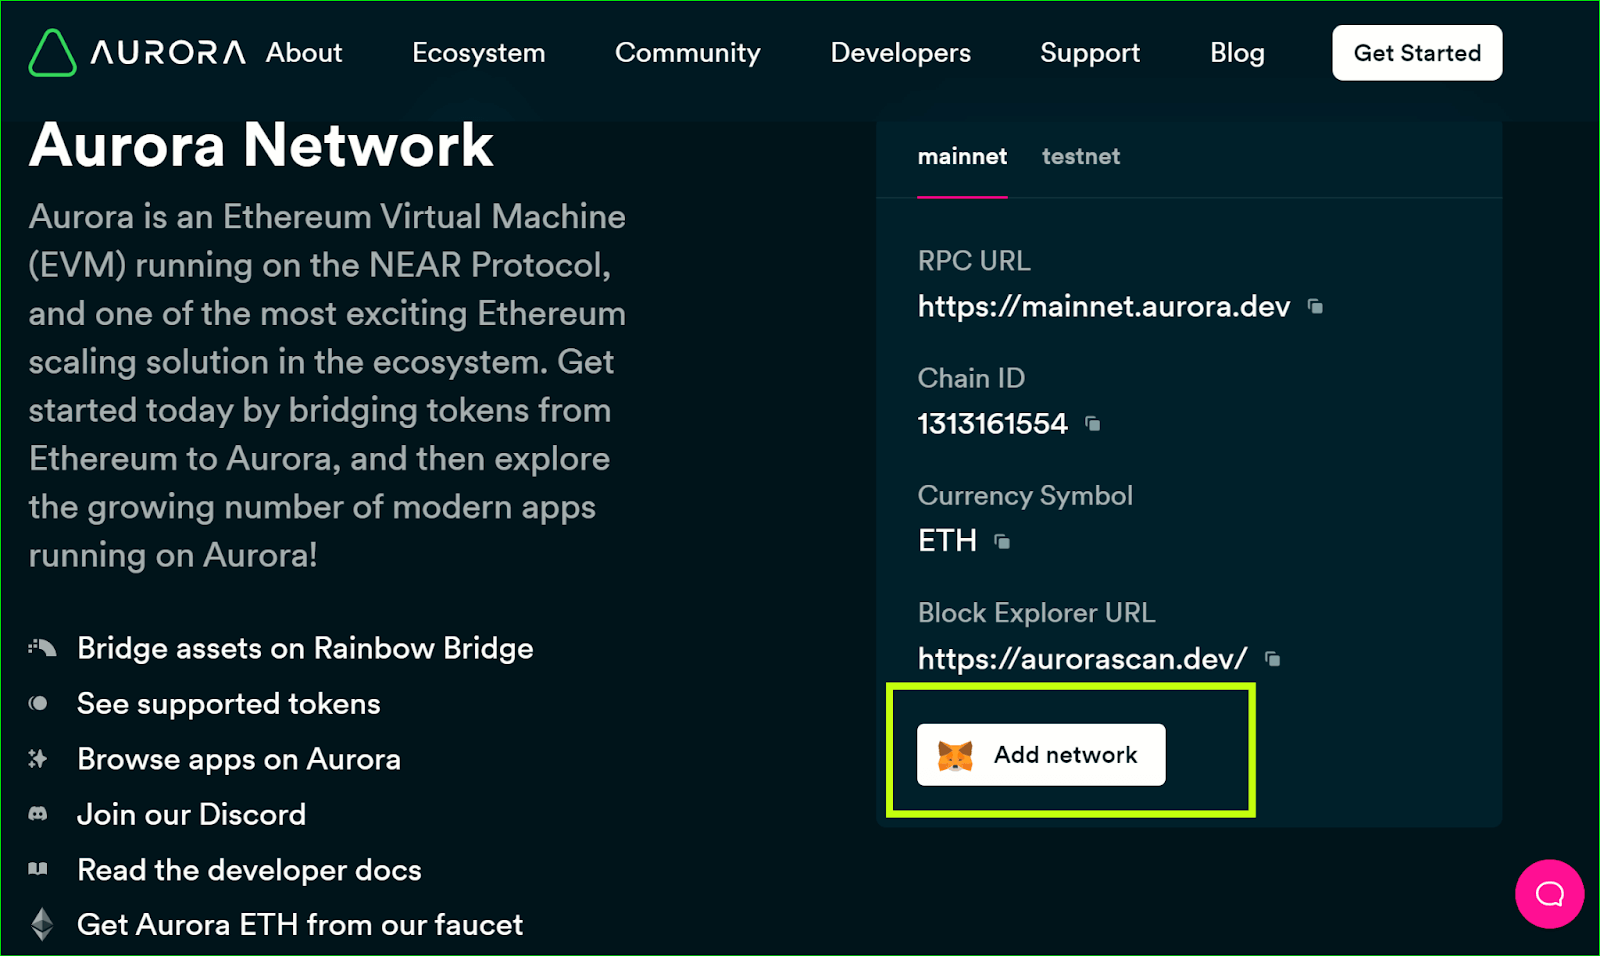
- Alternatively, to add Aurora to MetaMask, visit the Aurora Start page https://aurora.dev/start. Then click “Add Network” (Mainnet) to add the Aurora network to MetaMask.
We’ll touch upon the remaining Security, Deploy Token and Restore Transfer options in the Advanced Features chapter.